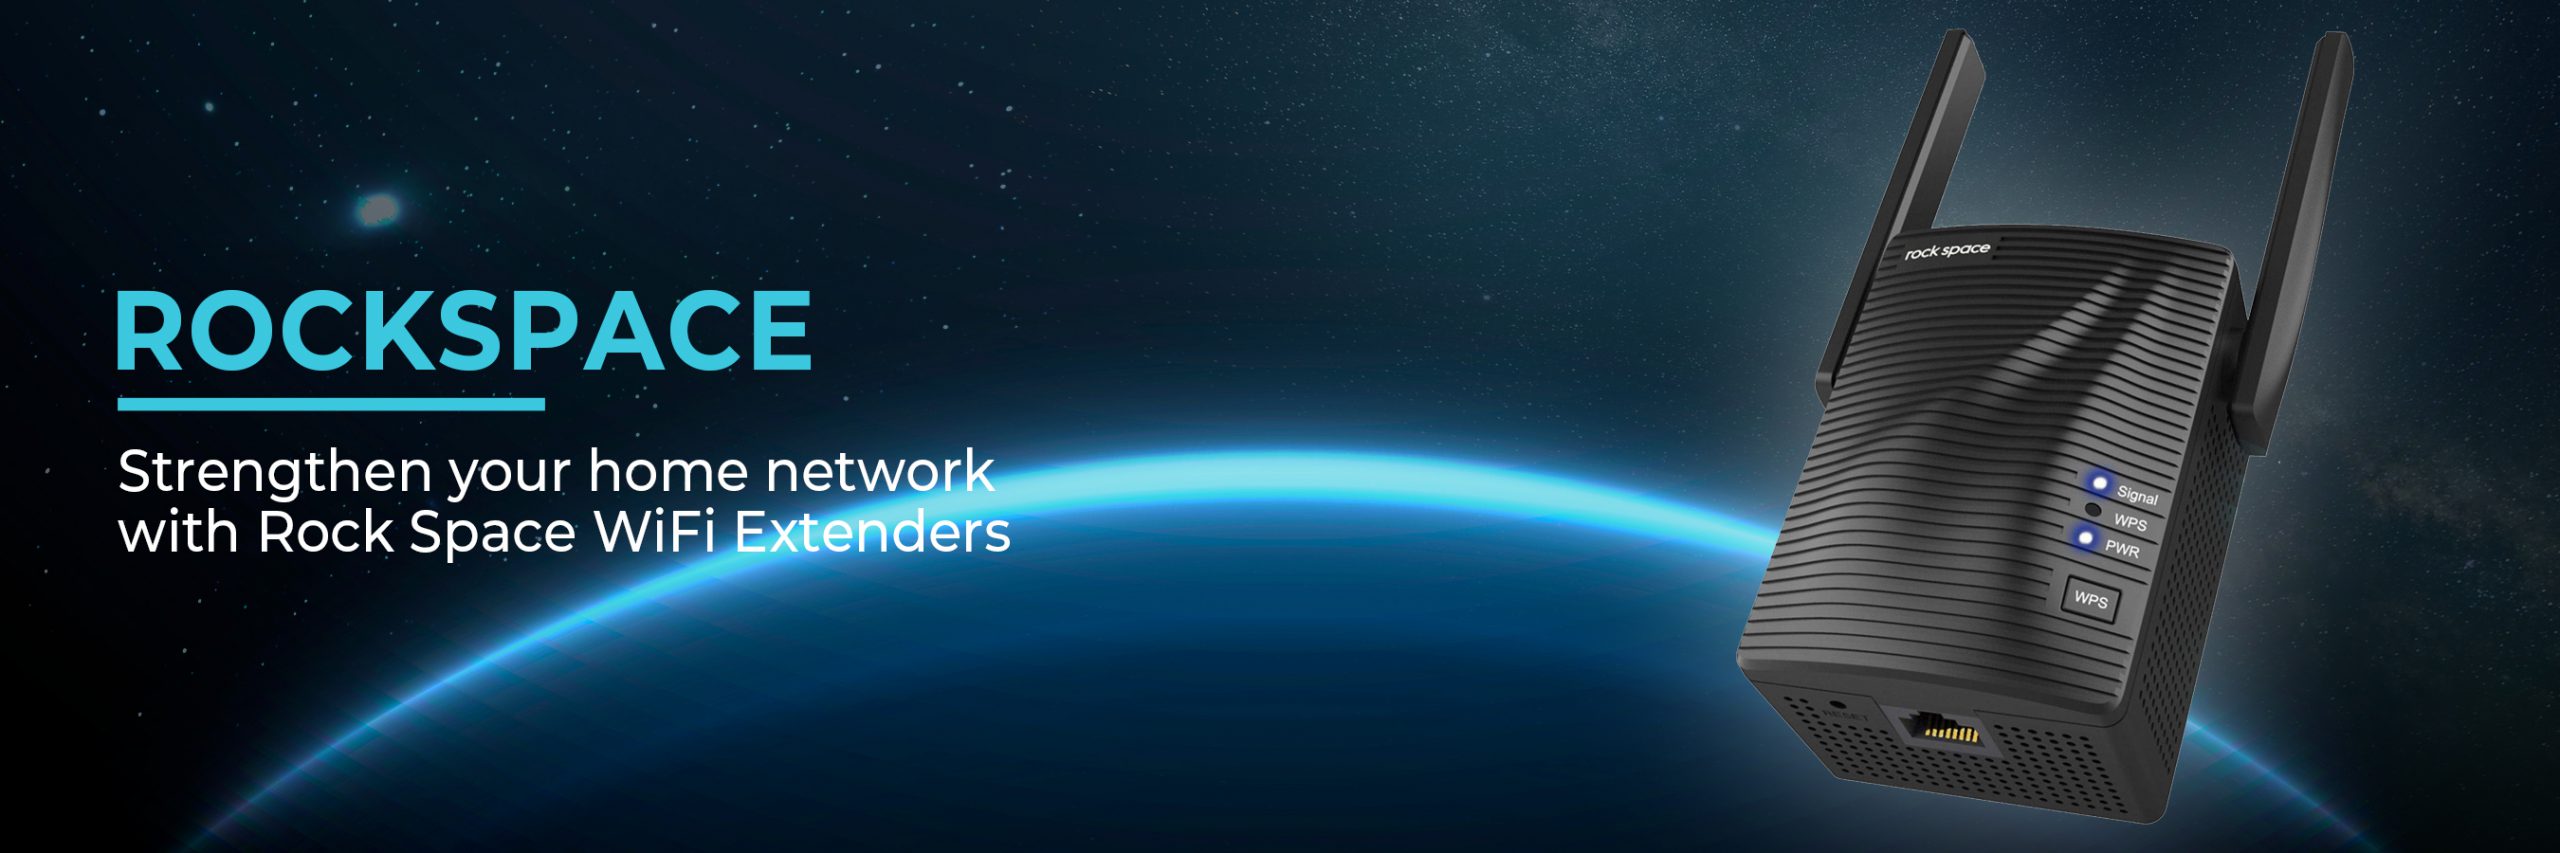
What is re.rockspace.local
Re.rockspace.local is a default web page required by a user to interact and to perform the setup process of the extender. A user can also control and manage the extender through the smartphone. However, if an error occurs through the smartphone it would always recommend you to switch to the computer. Every Time a user has to interact with the re.rockspace.local interface he has to go through its login process. Instead of re.rockspace.local, a user can also use 192.168.0.254 on the address bar of the browser to visit the web interface of the rockspace Wi-fi extender.
Why re.rockspace.local refused to connect?
If a user is encountering an issue while visiting the re.rockspace.local interface, he must check the connection between the main router and the extender. Any hindrance while interacting with the web interface of the range extender must be resolved quickly to allow the user to control and manage the extender efficiently. We will help you out with the best possible aspects that could resolve the re.rockspace.local issue.
Here are some troubleshooting steps that may resolve the re.rockspace.local issue
- Make sure that the main router is connected to the signals of the re.rockspace.local extender. If the router is not connected to the re.rockspace.local extender directly, you may encounter the re.rockspace.local issue.
- You have to ensure that the router is having an active Internet connection. The re.rockspace.local issue may also be encountered because of the absence of Wi-fi connectivity.
- Your computer shouldn’t be connected to any other wireless networks, VPN connections, or other wired connections. If it is connected to any of that network, disconnect it and then try to access the re.rockspace.local interface of the range extender.
- Sometimes the firewall and other web applications may also block a user from visiting the web interface of the range extender. If your computer has enabled the firewall and any other antivirus software in it, it may be the reason that you are denied from the re.rockspace.local interface. You need to disable them as soon as you can from using the Control Panel of your windows.
- An incorrect IP address of the computer may also lead to the re.rockspace.local issue. The device or computer with which you are trying to access the re.rockspace.local window, must have an IP address assigned by the range extender. When the DHCP function is enabled, the IP address may get automatically assigned to the computer. If the DHCP function is disabled in your re.rockspace.local extender, you may have to manually assign the IP address to the computer.
- Re.rockspcace.local allows some of the browsers to interact with its web utility page. A user has to make sure that he is accessing the re.rockspace.local interface, only through the authorized browsers. Google Chrome, Mozilla and Edge are such browsers with which a user can interact with the Rockspace Wi-fi extender.
- Sometimes when the memory of the browser gets packed up with the downloaded or browser history, it may also become the reason for the re.rockspace.local failure issue. A user is recommended to clean up the cache or history of the browser through its settings tab to avoid such issues.
- Make sure you are entering the correct login credentials on the Rockspace extender login window. Login credential fields are case-sensitive. Do not forget to hold the shift key while entering an uppercase letter and releasing the shift key while entering a lower case one.
Note: If all the troubleshooting steps fail, you may have to restore the factory settings into the range extender. Press the Reset button from the back panel of your device and hold it for around 10 seconds. The Reset process restores the default networking, administrative, and security settings of the extender.
How to change the password for re.rockspace local?
Changing the local password for a re.rockspace.local interface is a prominent method to secure your range extender. A user has to assign a unique login password to prevent unauthorized entry into the re.rockspace.local interface. You can change the password either through a mobile device using the Tether app or may do it through a computer using the re.rockspace.local interface.
Here are the steps to change the password for a Rockspace wi-fi extender interface.
- Launch a browser on the computer or mobile device connected to the extender’s network.
- Type re.rockspace.local or 192.168.0.254 on the address bar of the browser
- Hit enter and the default Rackspace login window appears on the screen.
- Enter credentials on their respective fields. Type “admin” on the username field. Type the current login password on the password field.
- Both the login credential fields are case-sensitive.
- Click on the login button and the default re.rockspace.local appears on the screen.
- To change the login password go to the Administration tab then click on the Management tab
- Click on the Password settings tab and the password settings page appears on the screen.

- Scroll down the settings page, and find the admin password field.
- Remove the current password and type the desired password you want to keep the for the login process
- Note: If you are changing the default password, the admin password will be blank.
- Re-enter the password on the Confirm New password field.
Note: Make sure the new admin password you are assigning is fulfilling all the requirements. It must contain at least a number, symbol.
At last, click on the Save button to apply the settings you made.
Note: While typing down the password, a user has to make sure he is activating the Caps lock to enter an uppercase letter and deactivating it while entering a lowercase one. Any faul while typing down the admin password may restrict you from accessing the re.rockspace.local interface.
How to reset the re.rockspace.local extender?
Restoring the default settings into the range extender resolves the bugs and other issues. It may be used as an optimal way to refresh your router and remove the virus from it. You can perform the reset process either through the manual method or through the re.rockspace.local interface. All configurations including networking, administrative, security, and wireless settings get removed from the extender.
Steps to reset the re.rockspace.local extender
- Before the reset process, a user has to find the paper clip or a sim card opener to use as a tool.
- Make sure the Rockspace Wi-fi extender is turned on during the reset process otherwise the changes won’t take place.
- The reset button is on the bottom of the Rockspace extender, so plug the range extender upside down so that you could easily find the reset button to press.
- Hold the reset button for around 10 seconds until the LED on the front of the range extender with the tool you are using.
- When you get the steady blue light back on the range extender, you can release the button.
- When the reset process is done, you can find the default network key and password on the back of your device to reconnect to the extender’s network.
- The default login password is “admin” that you can use to re-login to the re.rockspace.local extender.
Note: Users are highly recommended to create a backup of the configuration settings that a user wants to restore after the reset process. It may save a user the effort and time that he has to give while reconfiguring the range extender. Both the backup and restoration process is done through the re.rockspace.local interface.
How to access the re.rackspace.local Wi-fi extender?
A user can access the re.rockspace.local Wi-fi extender either through the mobile device or through the computer. Using the mobile device, a user can interact with the interface of the Rockspace extender through the Tether app. Using the computer, a user can control and manage the Rockspace extender through its web interface. Every Time a user interacts with the Rockspace Wi-fi extender, he has to perform the login process in the Extender login window.
Steps to access the re.rockspace.local Wi-fi extender
- Launch a browser on the computer or mobile device connected to the extender’s network.
- Type re.rockspace.local on the address bar of the browser. If you encounter any error, you can also switch to the LAN IP address of the Rockspace Wi-fi extender.
- The default IP address of the re.rockspace.local extender is 192.168.0.254’
- Hit enter and the default Rackspace login window appears on the screen.
- Enter credentials on their respective fields. Type “admin” on the username field. Type the current login password on the password field.
- Both the login credential fields are case-sensitive.
- Click on the login button and the default re.rockspace.local appears on the screen.
- Now, a user can access all settings and features of the re.rockspace.local interface.
Note: The user who is interacting for the first time with the Rockspace extender doesn’t have to go through the login process. Use the default Wireless settings to connect to the extender’s network. Once you get connected to the extender’s network, you will be redirected to the Rockspace Wi-fi extender configuration page. If you are not redirected to the configuration page you have to type re.rockspace.local on the web address of the browser and hit enter.
How do I reset my Rockspace extender password?
A user can reset the extender password if he has forgotten the login password. You don’t have to reconfigure the password if you have forgotten the password, you just need to reset it using the re.rockspace.local password. It may also preserve the time and efforts of a user from that it consumes while reconfiguring the extender including the networking, administrative, and security settings.
Steps to reset my Rockspace extender password
- Launch a browser on the computer connected to the local network
- Go to the address bar and type re.rockspace.local or its IP address on the address bar of the browser.
- The default IP address of the rockspace extender is 192.168.0.254
- Hit enter and the default extender login window appears on the screen.
- Now, instead of typing in the credentials on their respective fields, click on the Forgot password option.
- The screen with the two security questions appears on the window.
- Enter the answer you assigned during the setup process on their respective fields.
- Note: If a user has forgotten the answer to those questions, he has no other option than to perform the reset process on the Wi-fi extender.
- When you are done, click on the Next button.
- If your answers are correct, the registered mail and password will be displayed on the next screen.
- Click on the Login again option and you will be redirected to the login window again.
- Both the login credential fields are case-sensitive.
- Now, enter the recovered email and login password.
Note: Users are recommended to note down the answer to those security questions somewhere so that during the recovery process they could easily answer them. In any case, if a user doesn’t know the answer or answers those questions incorrectly, he may have to restore the default settings into the router. After the reset process, a user has to type the default login credentials on the login window. The default username and password of the extender login window is “admin”