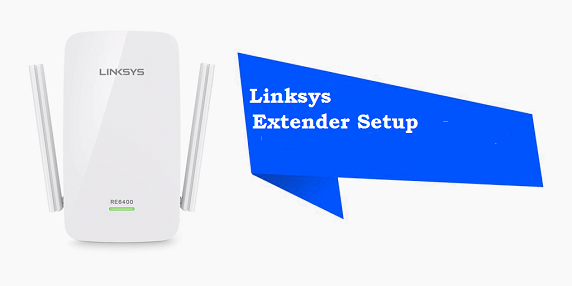
How to setup Linksys re6500 extender in a home network?

A user can perform the Linksys re6500 extender setup by three methods. One is the Wired connection, Second one is the wireless connection, and Third one is the WPS (Wi-fi protected setup) connection method. Users are recommended to perform the setup process through a wired connection as it avoids the risk of sudden disconnection during the setup process.
Here are the things that a user must know before the Extender setup process
- A user must know the default Network Name of the extender with which he is going to connect to the extender’s network.
- If you are connecting the range extender with your router through a WPS connection, the router must be WPS enabled. If your router doesn’t have a WPS button you won’t be able to perform the WPS connection method.
- Disconnect all other networks with which your computer has connected, it may bring interruption during the setup process of your range extender.
- Avoid the wireless connection during the setup process as it may lead to a sudden disconnection.
- No user should be connected to your router’s network during the extender setup process, it may bring failure in the setup process.
Steps to setup Linksys re6500 extender in a home network
- The first thing you need to do is to attach the antennas at the back of your range extender.
- Take the power adapter and plug it into an outlet near the router. Connect the other end of the power adapter into the range extender.
- As soon as you turn on the power switch a white light flashes up on your range extender.
- Meanwhile, go to your computer and open the Wi-fi settings.
- When the LED light stops flashing and becomes stable, the range extender successfully turns on.
- Search for the available Wi-fi networks through the Wi-fi option. Check the default Network name of the range extender on the list.
- Connect to the “Linksys Extender setup” network. You will be requiring no Wi-fi password as the network will be open.
- In some cases, users are automatically redirected to the extender.linksys.com configuration page.
- If a user is not redirected to the Linksys extender configuration page, he has to manually type extender.linksys.com on the address bar of the browser.
- Press enter and the main configuration page appears on the screen.
- Select the language for the interface. English is the default language set for the extender.linksys.com interface. Click on the Start button to begin the configuration process.
- Select “I agree” to agree to the License Agreement and accept all the policies.
- The Linksys interface starts searching for a wireless network. The list of available Wi-fi networks appears on the screen.
- Connect to your network by selecting the router’s network name. Type the router’s Wi-fi password on the provided field.
- Choose the type of security used by your router’s network. Click on the Next button
- The interface will start checking for the network credentials. It may take a while.
- Meanwhile, you can create a wired connection between the extender and the computer. Take an Ethernet cable and connect it to the extender and then to the computer.
- When your router gets connected to the extender, a dialogue box appears on the screen saying that the “Extender has now been configured”.
- You can change the Wireless settings including the Network Name, Wi-fi password, Security level, and SSID broadcast of the network by visiting the extender.linksys.com interface.
Why myrouter.local is not working?
Note: To enhance the security level of the network, a user can enable the “Hide SSID” option. It will keep anonymous users away from accessing your extended network. A user has to manually type the SSID name of the extended network to connect to it.